Introduction
Jewelry making is creative, relaxing, and—when approached like a real project—surprisingly organized.
Because once someone starts making earrings, bracelets, necklaces, wire-wrapped pieces, or custom jewelry, the cute little hobby can quickly turn into a pile of beads, tangled wire, unfinished projects, mystery findings, and the eternal question:
“Wait… what was I planning to make with these?”
That is exactly where Jewelry Making Project Planners come in.
And here’s the fun part for printable sellers: you do not have to make jewelry yourself to create useful planning products for jewelry makers.
You can create printable worksheets that help crafters plan designs, track supplies, calculate costs, record finished pieces, organize custom orders, and keep their projects moving.
In other words, you are not selling a piece of jewelry.
You are selling organization around the jewelry-making process.
Quick Answer
Jewelry Making Project Planners can become profitable digital products because they solve several practical problems for jewelry makers. A simple project sheet can become a $7 entry product, while expanded planners, inventory trackers, pricing worksheets, order-management pages, and complete jewelry business bundles can create a much larger product ladder.
Why Jewelry Making Planners Are a Smart Printable Niche
Jewelry making sits at the intersection of several strong printable markets: crafting, hobbies, handmade businesses, organization, budgeting, and creative entrepreneurship.
That gives you plenty of directions to explore.
A beginner may simply need help planning their first necklace.
An experienced crafter may need a way to track hundreds of beads and findings.
A jewelry seller may need worksheets for material costs and pricing.
Someone taking custom orders may need a client design sheet.
And someone preparing for a craft fair may need a complete event-prep checklist.
One audience can therefore lead to multiple related products.
Who Could Buy Jewelry Making Project Planners?
Your potential buyers are not limited to professional jewelry designers.
- Beginner jewelry makers
- DIY jewelry hobbyists
- Beading enthusiasts
- Wire-wrapping artists
- Handmade jewelry sellers
- Etsy jewelry shop owners
- Craft fair vendors
- Jewelry-making teachers
- Students learning jewelry design
- Jewelry-making workshop organizers
- Gift makers
- People creating custom jewelry
What Should Go Inside a Jewelry Making Project Planner?
The basic planner can be simple.
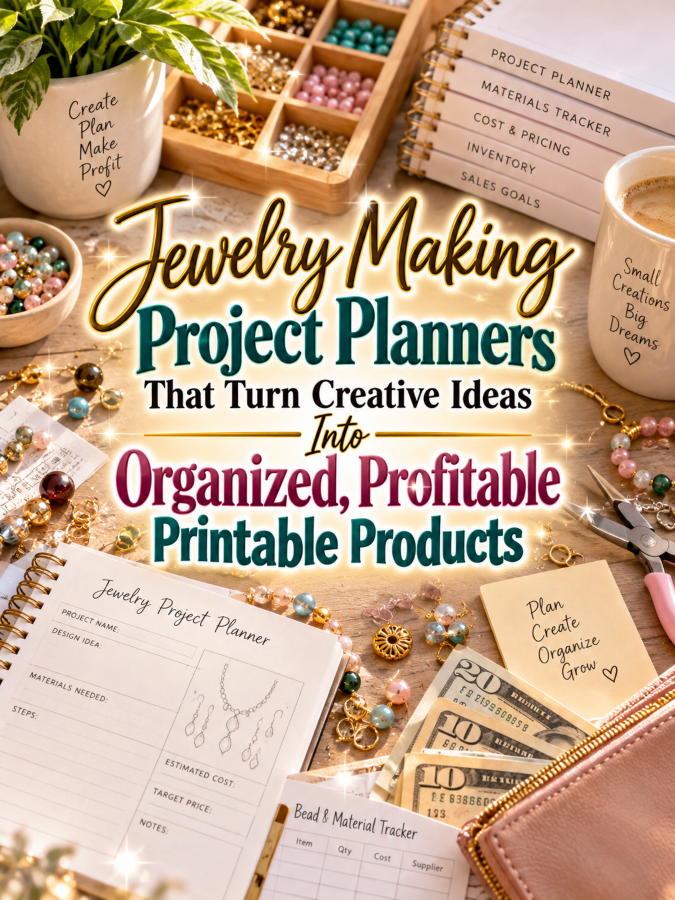
For example, create a project page with sections for:
- Project name
- Jewelry type
- Design inspiration
- Color palette
- Materials needed
- Tools required
- Estimated cost
- Target completion date
- Step-by-step notes
- Design changes
- Finished piece notes
Then add pages that make the planner more useful.
Material Inventory Tracker
Give users a place to record beads, chains, clasps, charms, wire, hooks, findings, gemstones, packaging supplies, and other materials.
Project Cost Calculator
Help makers record material costs, packaging costs, labor time, fees, and desired profit.
Design Sketch Page
Include a large open space where users can sketch a necklace, bracelet, earring, or other piece before beginning.
Project Progress Tracker
Break the project into stages such as:
- Idea
- Design
- Materials gathered
- Assembly
- Finishing
- Quality check
- Photographed
- Listed for sale
Now the planner becomes much more than a pretty worksheet.
It becomes a little project-management system for jewelry makers.
Tools You’ll Need
You can create the entire product digitally with tools you probably already know.
- Canva — Create the planner pages, covers, worksheets, and product graphics.
- Etsy — Research how competing jewelry and craft printables are presented.
- Pinterest — Study jewelry organization, craft-room layouts, color palettes, and project-planning ideas.
- Creative Fabrica — Find fonts, graphics, and design resources where licensing permits commercial use.
- Google Trends — Explore interest around jewelry making, beading, handmade jewelry, and related topics.
- Placeit — Create product mockups for your listings.
Do not make the mistake of designing 50 pages simply because you can.
Start with a useful problem.
Then build around it.
5-Step Action Plan
Step 1: Choose One Jewelry-Making Problem
Do not begin with “I need to make a jewelry planner.”
Begin with:
“What problem does the jewelry maker need solved?”
Maybe they cannot keep track of supplies.
Maybe they forget project details.
Maybe they struggle to price their work.
Maybe custom orders are becoming messy.
Step 2: Create a Small Starter Product
Create a compact Jewelry Project Planner Starter Pack.
For example:
- 5 project planning pages
- 2 design sketch pages
- 1 materials checklist
- 1 project tracker
- 1 finished jewelry record
This gives you an easy entry-level product.
Step 3: Turn One Product Into a Collection
Once you have your starter planner, create related products.
- Jewelry Inventory Tracker
- Bead Collection Organizer
- Jewelry Pricing Calculator
- Custom Order Planner
- Craft Fair Preparation Planner
- Jewelry Photography Checklist
- Jewelry Business Planner
Step 4: Bundle the Products
Now combine your smaller products into a larger Jewelry Maker’s Business Bundle.
The buyer gets more value.
You get a higher-priced offer.
And suddenly, one little project planner has become the foundation for an entire product ecosystem.
Step 5: Create a Product Ladder
This is where things get interesting.
- $7: Jewelry Project Planner
- $17: Jewelry Maker Organization Bundle
- $27: Jewelry Business Planner
- $47: Complete Jewelry Maker Printable Bundle
- $77: Ultimate Jewelry Business Planning System
The exact prices are up to you and should reflect your product quality, audience, competition, and marketplace.
The important idea is that you are not relying on one product.
You are creating several logical steps for the same customer.
How to Make Your Jewelry Planner Stand Out
Pretty pages are nice.
Useful pages are better.
Think about what happens before, during, and after a jewelry project.
For example, add a Design Decision Page where the maker records:
- Why they chose the design
- What inspired it
- Which materials worked
- What they would change
- What they want to try next
You could also create specialized planners for different jewelry styles.
- Beaded Jewelry Project Planner
- Wire-Wrapped Jewelry Planner
- Polymer Clay Jewelry Planner
- Gemstone Jewelry Planner
- Resin Jewelry Project Planner
- Handmade Earring Planner
- Bracelet Design Planner
- Necklace Design Planner
Now you can create targeted products instead of one giant generic planner.
Where to Find Customers
Your customers are already gathering in communities built around their craft.
Look for relevant audiences on:
- Etsy
- Facebook jewelry-making groups
- Beading communities
- Crafting communities
- Handmade-business groups
- Jewelry-making blogs
- YouTube jewelry channels
- Craft fair communities
Pay attention to the questions people repeatedly ask.
Those questions can become product ideas.
If people keep asking how to organize beads, create an inventory planner.
If they ask how to calculate jewelry prices, create a pricing worksheet.
If they complain about forgetting custom-order details, create an order planner.
Customer questions are printable-product research wearing a tiny disguise.
Common Mistakes to Avoid
Making It Too Generic
“Craft Planner” is broad.
“Wire-Wrapped Jewelry Project Planner” speaks directly to a specific person.
Adding Pages Just to Increase Page Count
More pages do not automatically mean more value.
Every page should have a job.
Ignoring the Business Buyer
Many hobbyists eventually sell their creations.
That creates an opportunity for business-focused planners, pricing worksheets, order trackers, and inventory systems.
Forgetting About Printability
Make sure your pages are easy to print and write on.
Do not cover every square inch with decorative elements.
How to Scale the Product
Once your first planner is selling, you can expand horizontally.
Create versions for earrings, bracelets, necklaces, beading, wire wrapping, gemstones, resin, and other jewelry categories.
Then expand vertically.
Move from individual worksheets to bundles, business systems, seasonal collections, and specialized planning kits.
You can even create a Jewelry Maker’s Annual Planner with monthly goals, inventory reviews, product launches, craft-fair planning, sales tracking, and content planning.
One small printable can become the seed for a much larger catalog.
Key Takeaways
- Jewelry makers have both creative and organizational problems.
- Project planners can solve those problems with simple printable worksheets.
- You can target hobbyists, beginners, makers, and jewelry businesses.
- Inventory, pricing, design, project tracking, and custom orders provide additional product opportunities.
- Specialized planners can target specific jewelry-making techniques.
- Bundles can increase the value of your product catalog.
- A product ladder lets you serve buyers at different price points.
Final Thoughts
You do not need to know how to create the perfect necklace to create a useful jewelry-making planner.
You need to understand the problems that happen around the necklace.
The forgotten materials.
The half-finished projects.
The messy inventory.
The pricing guesswork.
The custom-order details scribbled on a random piece of paper that mysteriously disappears three days later.
That is where the opportunity lives.
Start with one small planner.
Make it genuinely useful.
Then build related products around the same customer.
Your first printable does not have to be the whole business. It just needs to be the first bead on the string.
So here’s what you discovered today. If something sparked your interest, take it as your sign to start moving toward that goal now. Even one small step counts.
Enjoy!