Adobe Photoshop is now powered by Firefly, meaning there are tons of new features that should make your life easier. One of those is Generative Expand, a tool that will use AI to expand your image to fit new dimensions, expanding the content that’s already there if it’s not wide or tall enough to fit your needs (the best laptops for Photoshop will handle this AI beautifully).
In the age of social media, with so many different crops and sizes, the need for a ‘one size fits all’ approach has never been more pressing. The old technique of manually expanding a crop and cloning in new detail is simply no longer viable for a fast paced business world. This is where Generative Expand comes into its own, filling the empty gaps in an instant. Find out how to use it below, then head to our Photoshop tutorials post for more.
How to use Generative Expand
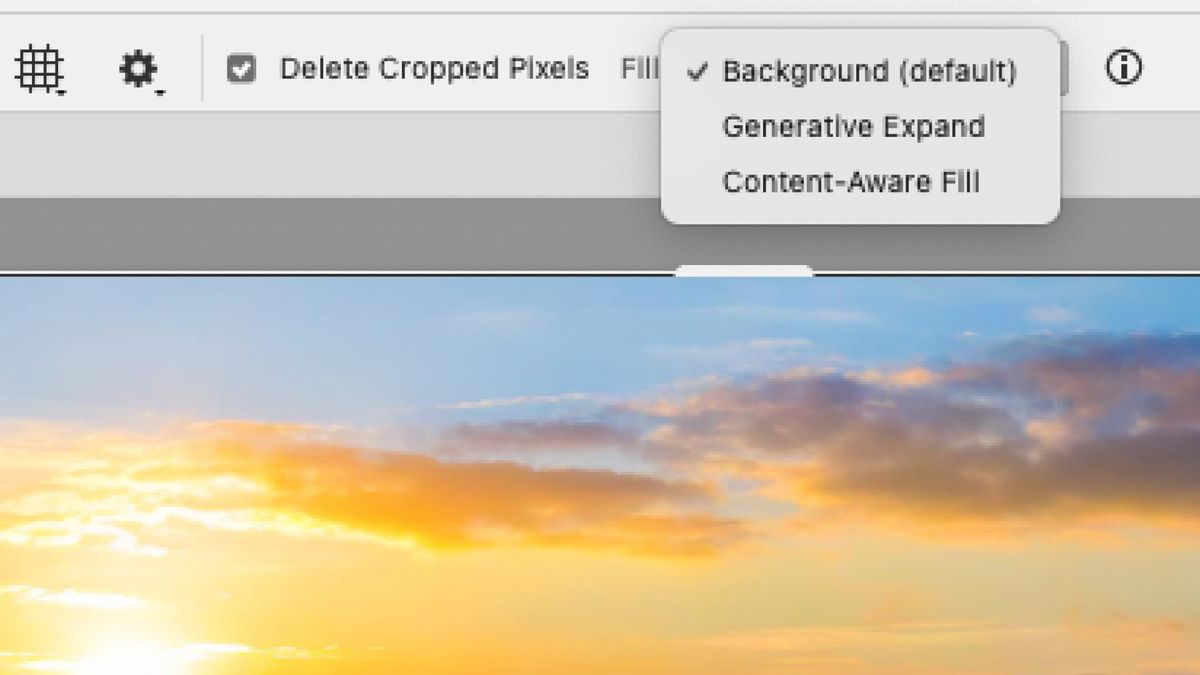
01. Select Crop tool
(Image: © Image Generated with Abobe Firefly)
Open your image in Photoshop. Select the crop tool in the Tool Bar (or press C) and switch to Generative Expand from the dropdown box in the Task Bar. If you have the Contextual Bar open, then the same option will pop up on the canvas.
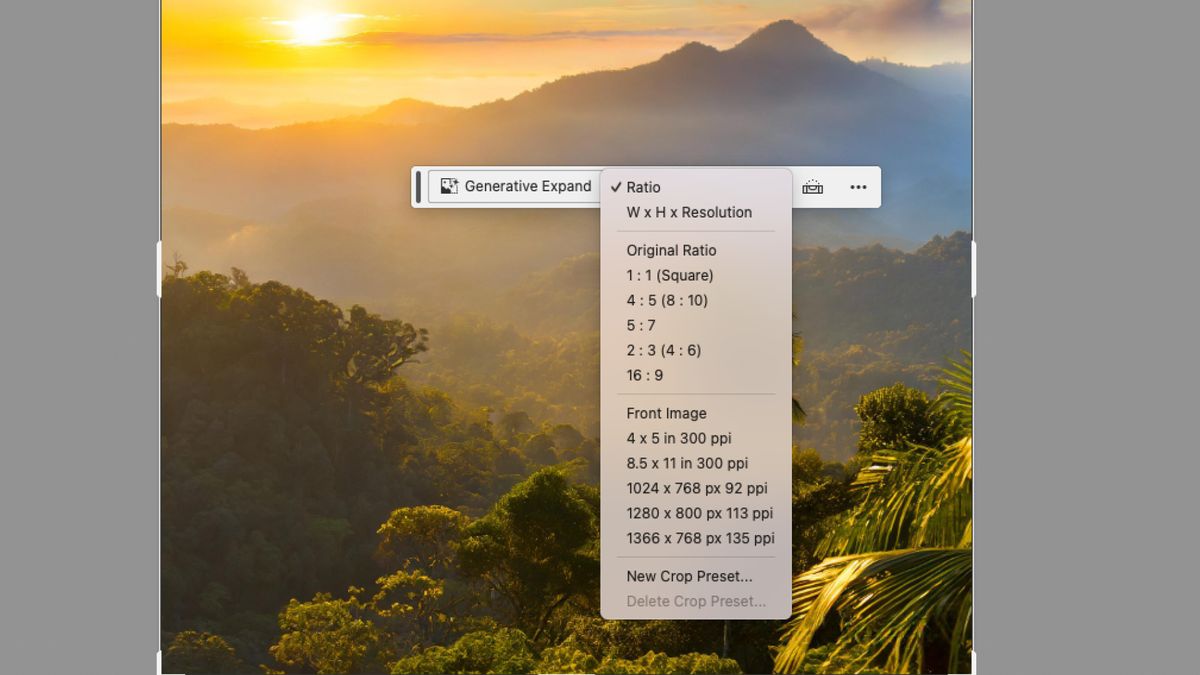
02. Designate a crop ratio
(Image: © Image Generated with Abobe Firefly)
Select the type of crop proportions you want from the list of examples or create a new Crop Preset of your own.
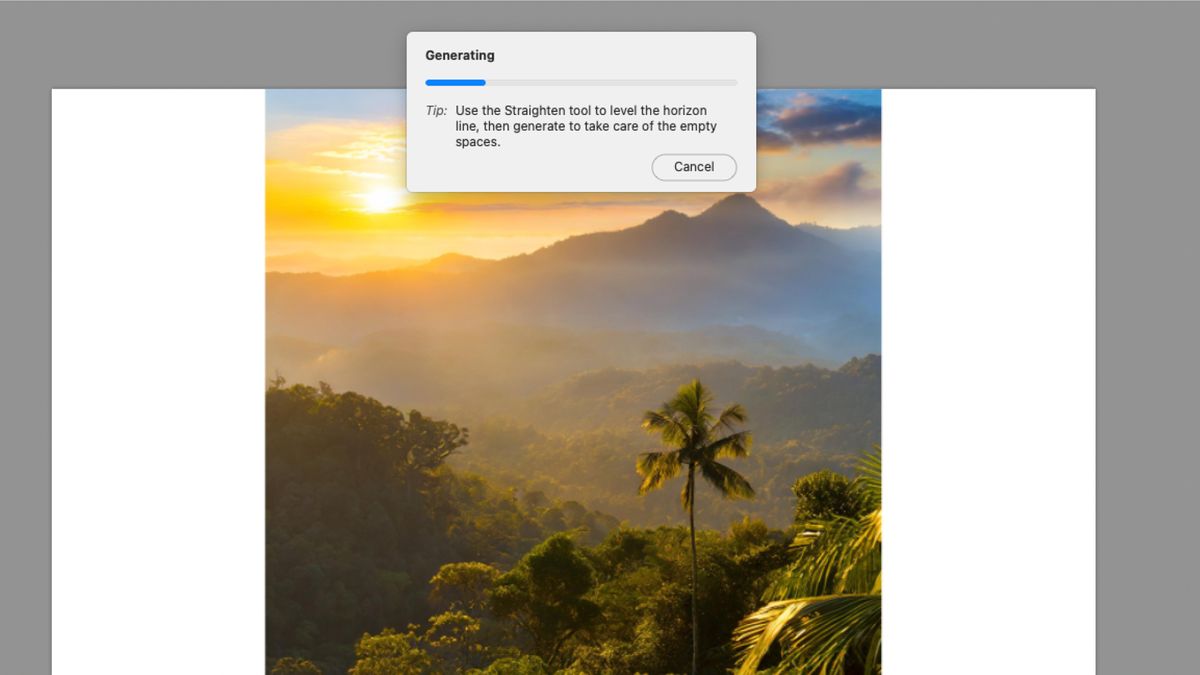
03. Expand image
(Image: © Image Generated with Abobe Firefly)
Drag the crop handles out to fill your new required size. Holding the alt button will drag both sides out equally. When you are happy with the new crop, press enter.
04. Pick a final image
(Image: © Generated with Adobe Firefly)
Generative Expand will provide you with three options every time you press the button. Cycle through these and select the one that fits your image best. Some results can be underwhelming, so be sure to rate the results and improve the engine.
You may like